What is the correct way to install an electrical outlet?

Installing an electrical outlet is a task that many homeowners can perform themselves, but it’s important to do it correctly to ensure safety and avoid potential hazards. In this article, we will discuss the correct way to install an electrical outlet.
Turn off the power – Before you begin, make sure to turn off the power to the outlet by flipping the circuit breaker or removing the fuse. This is to prevent any electrical shocks or fires.
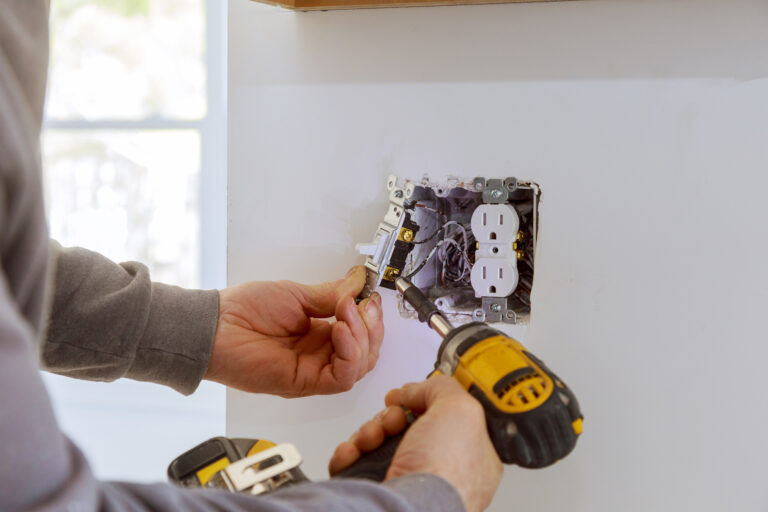
Gather tools and materials – You will need a drill, screwdriver, wire stripper, electrical box, electrical outlet, and wire nuts. Make sure you have all the necessary materials before you start.
Prepare the electrical box – First, attach the electrical box to the wall or ceiling where you want the outlet. Make sure it is securely fastened and level.
Connect the wires – Remove the outlet cover and loosen the screws that hold the wires in place. Connect the black or red wire to the brass screw, the white wire to the silver screw, and the green or bare wire to the green screw. Use wire nuts to secure the connections.
Install the outlet – Insert the electrical outlet into the electrical box and tighten the screws to secure it in place. Replace the outlet cover and turn the power back on.
Test the outlet – Once you have installed the outlet, it is important to test it to make sure it is working properly. Plug in a lamp or other device and turn it on to see if it works.
In conclusion, installing an electrical outlet can be a simple DIY project if done correctly. Make sure to turn off the power, gather all necessary tools and materials, prepare the electrical box, connect the wires, install the outlet, and test it before you consider the job done. If you are unsure about any aspect of the installation process, it is always best to consult a professional electrician for assistance.
